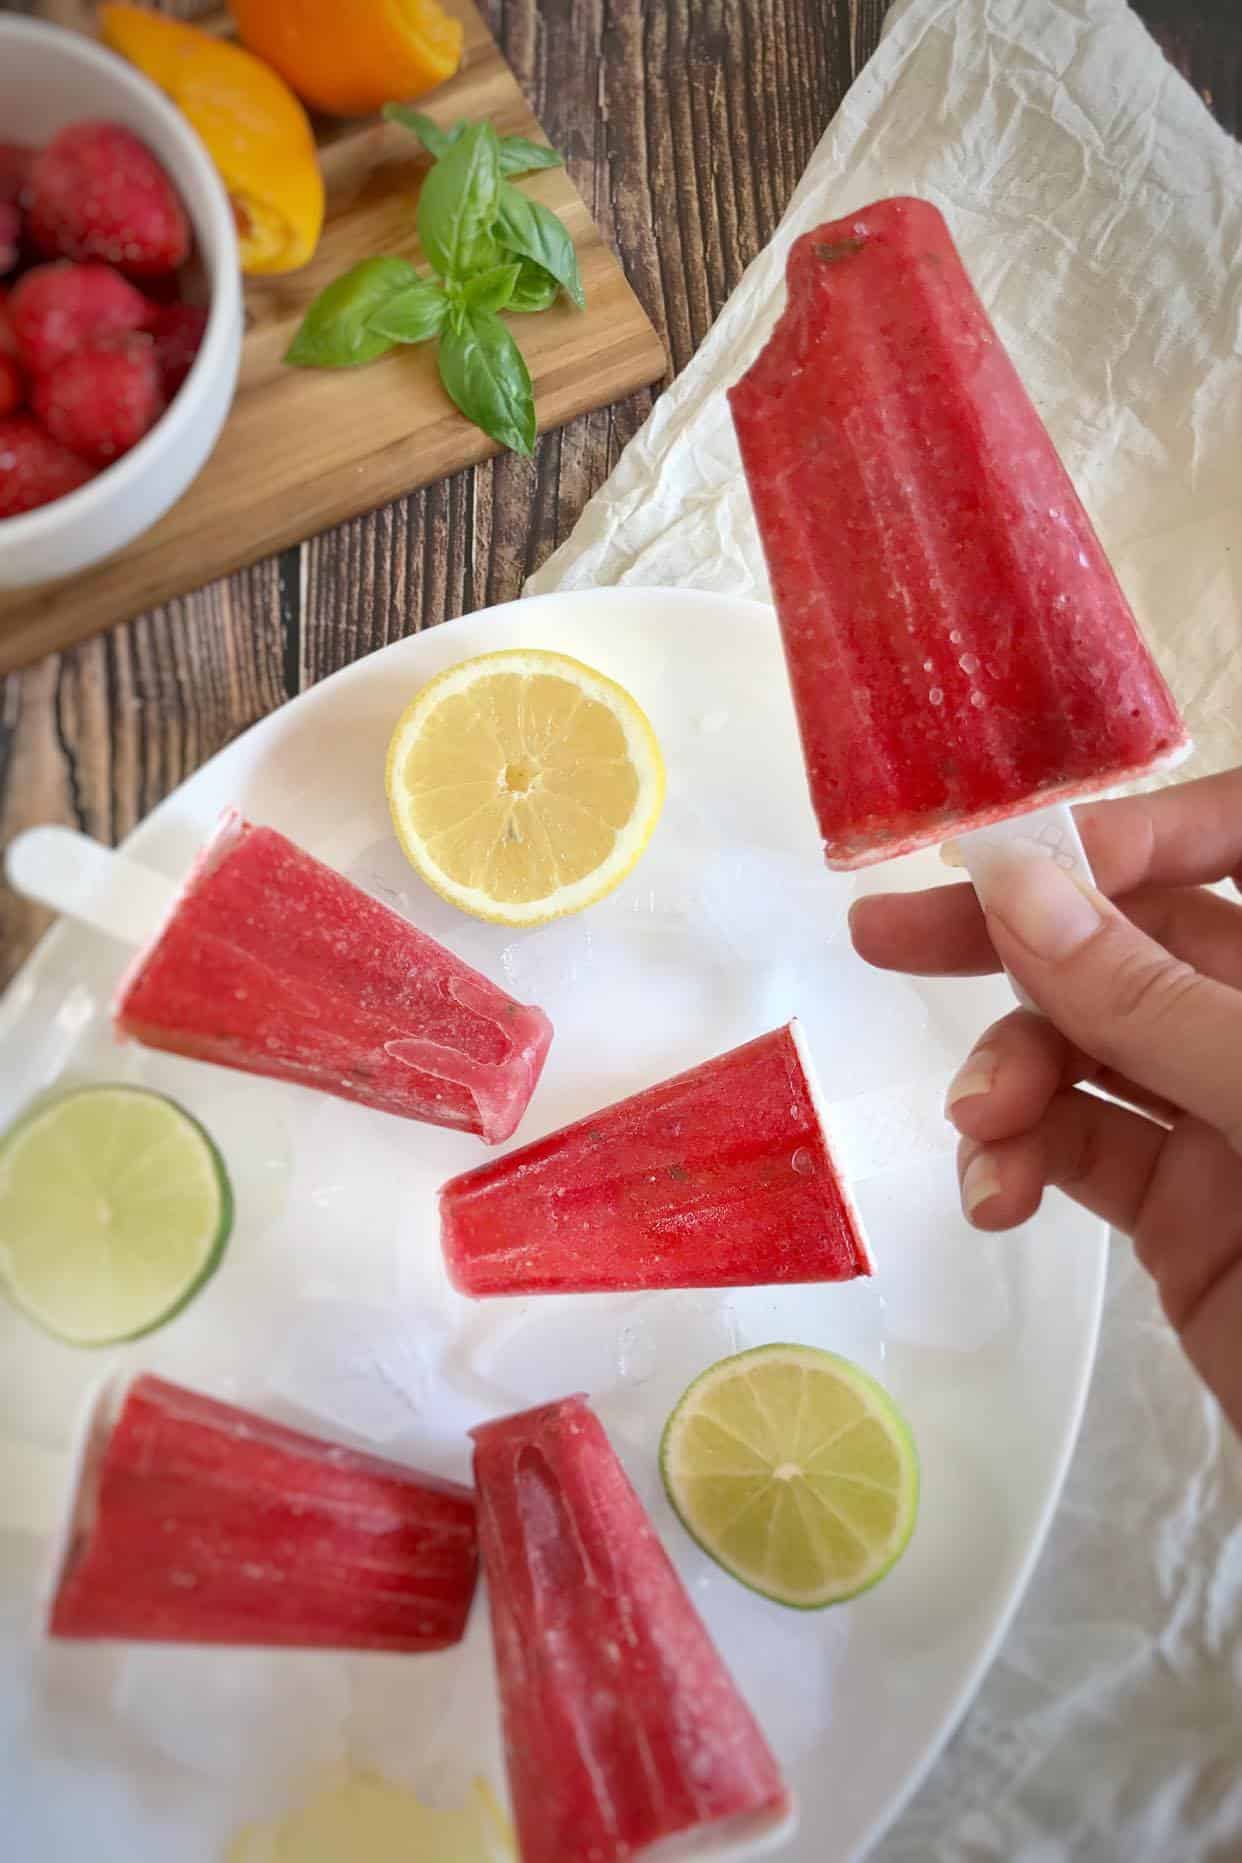
Sweet and tart with a subtle hint of basil, these (refined) Sugar-Free Strawberry Citrus Popsicles are the perfect summer treat! Just boil the ingredients, blend, add to the popsicle forms, and freeze for 6 hours before serving. WFPB option available.
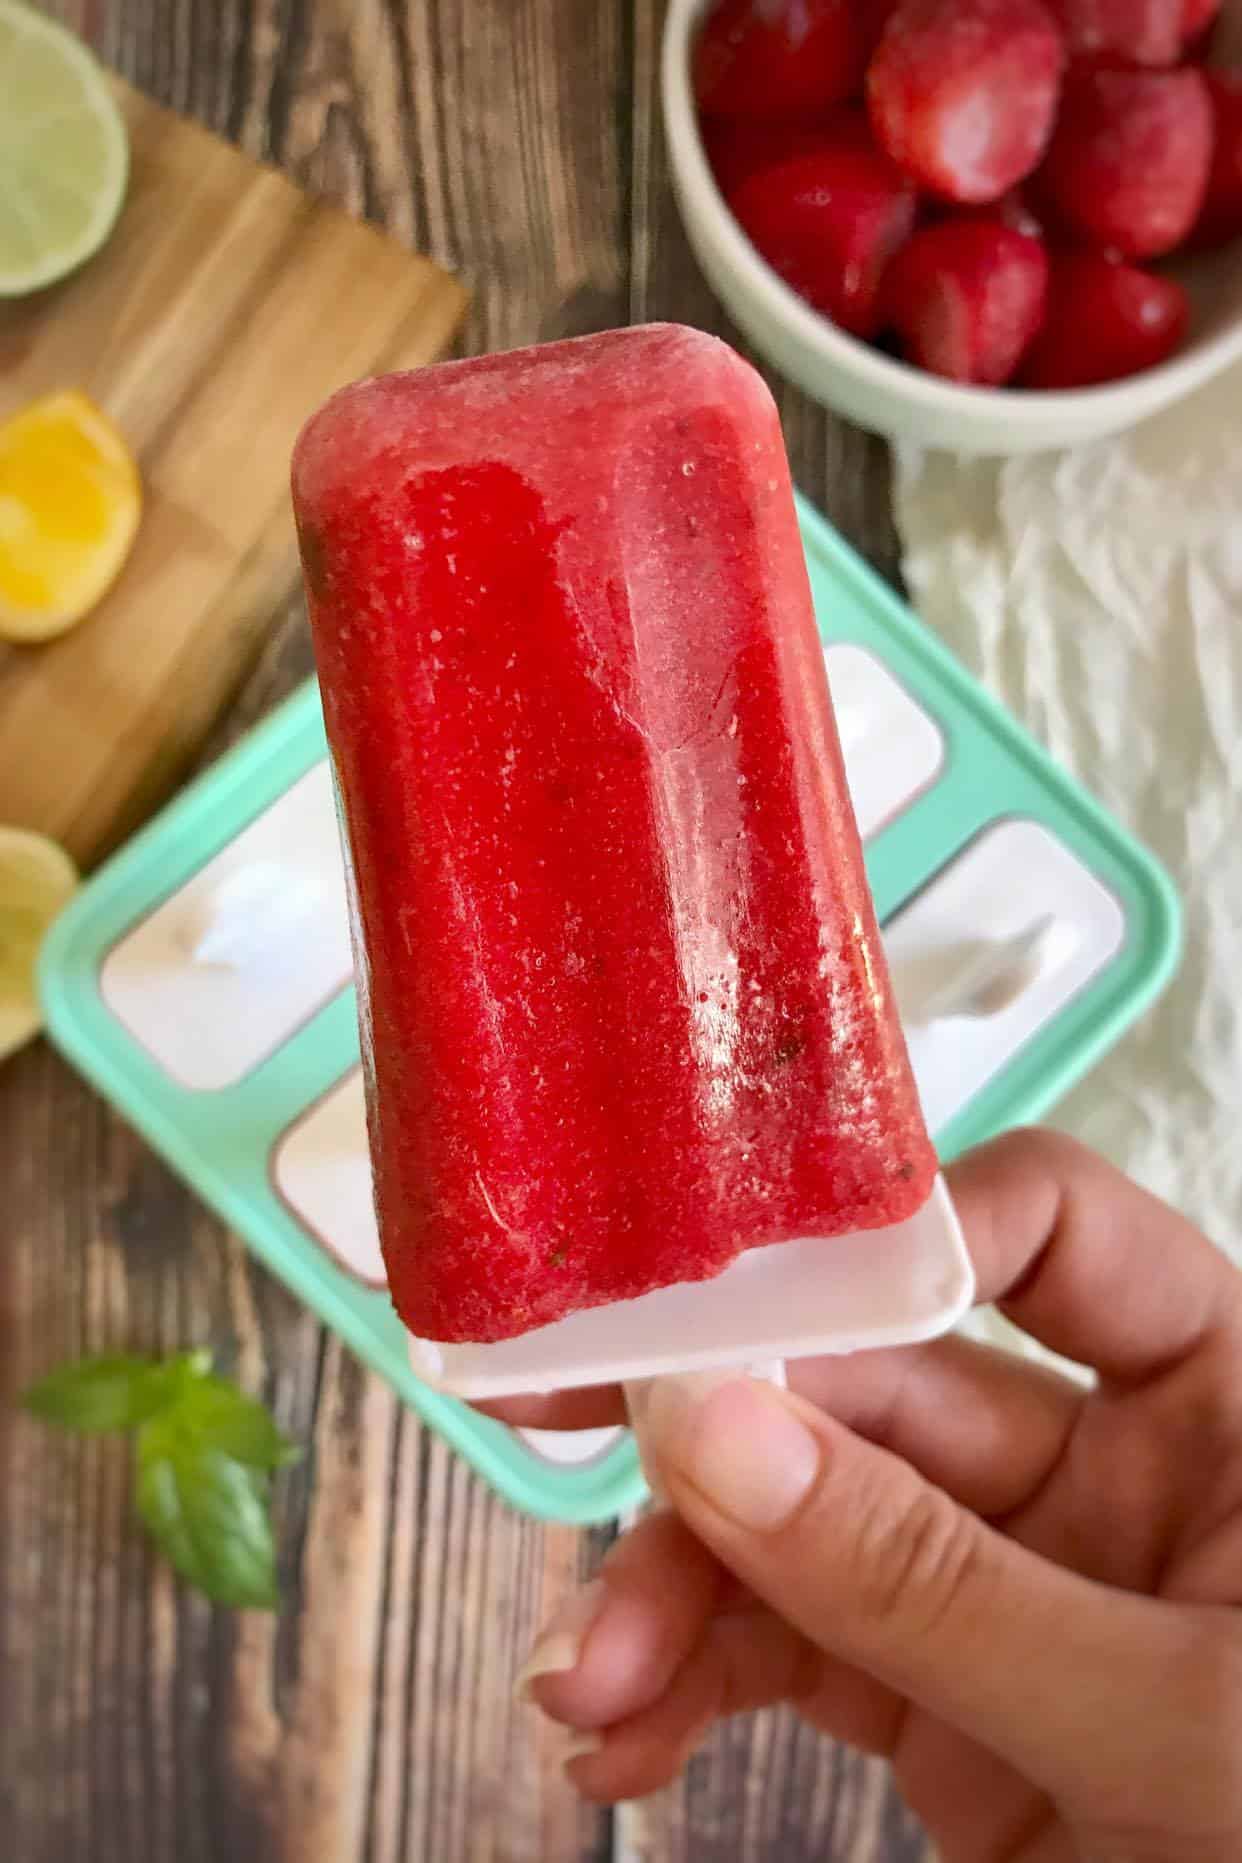
One of my earliest childhood memories is sitting on the patio with my mom and eating my first frozen strawberry fruit bar. You know the kind I'm talking about--whole chunks of fruit and an out-of-this-world flavor. But the store-bought version is both pricey and full of sugar. So I decided to test out some ways to make these both more affordable and refined sugar-free. And the results are absolutely delicious!
Strawberry and citrus has to be one of my favorite flavor combinations of all time. The sweetness of the strawberry and orange compliments the tartness of lemon and lime to make a fresh, bright, and light summer treat. Put that all together in a cool and refreshing popsicle, and you'll be in heaven. Of all the popsicles I've tasted, these Sugar-Free Strawberry Citrus Popsicles are hands down the best.
Jump to:
**Please note that while there is no added or refined sugar in this recipe, there are naturally occurring sugars in the fruit. So if you are diabetic or on a low-sugar diet, please take note.
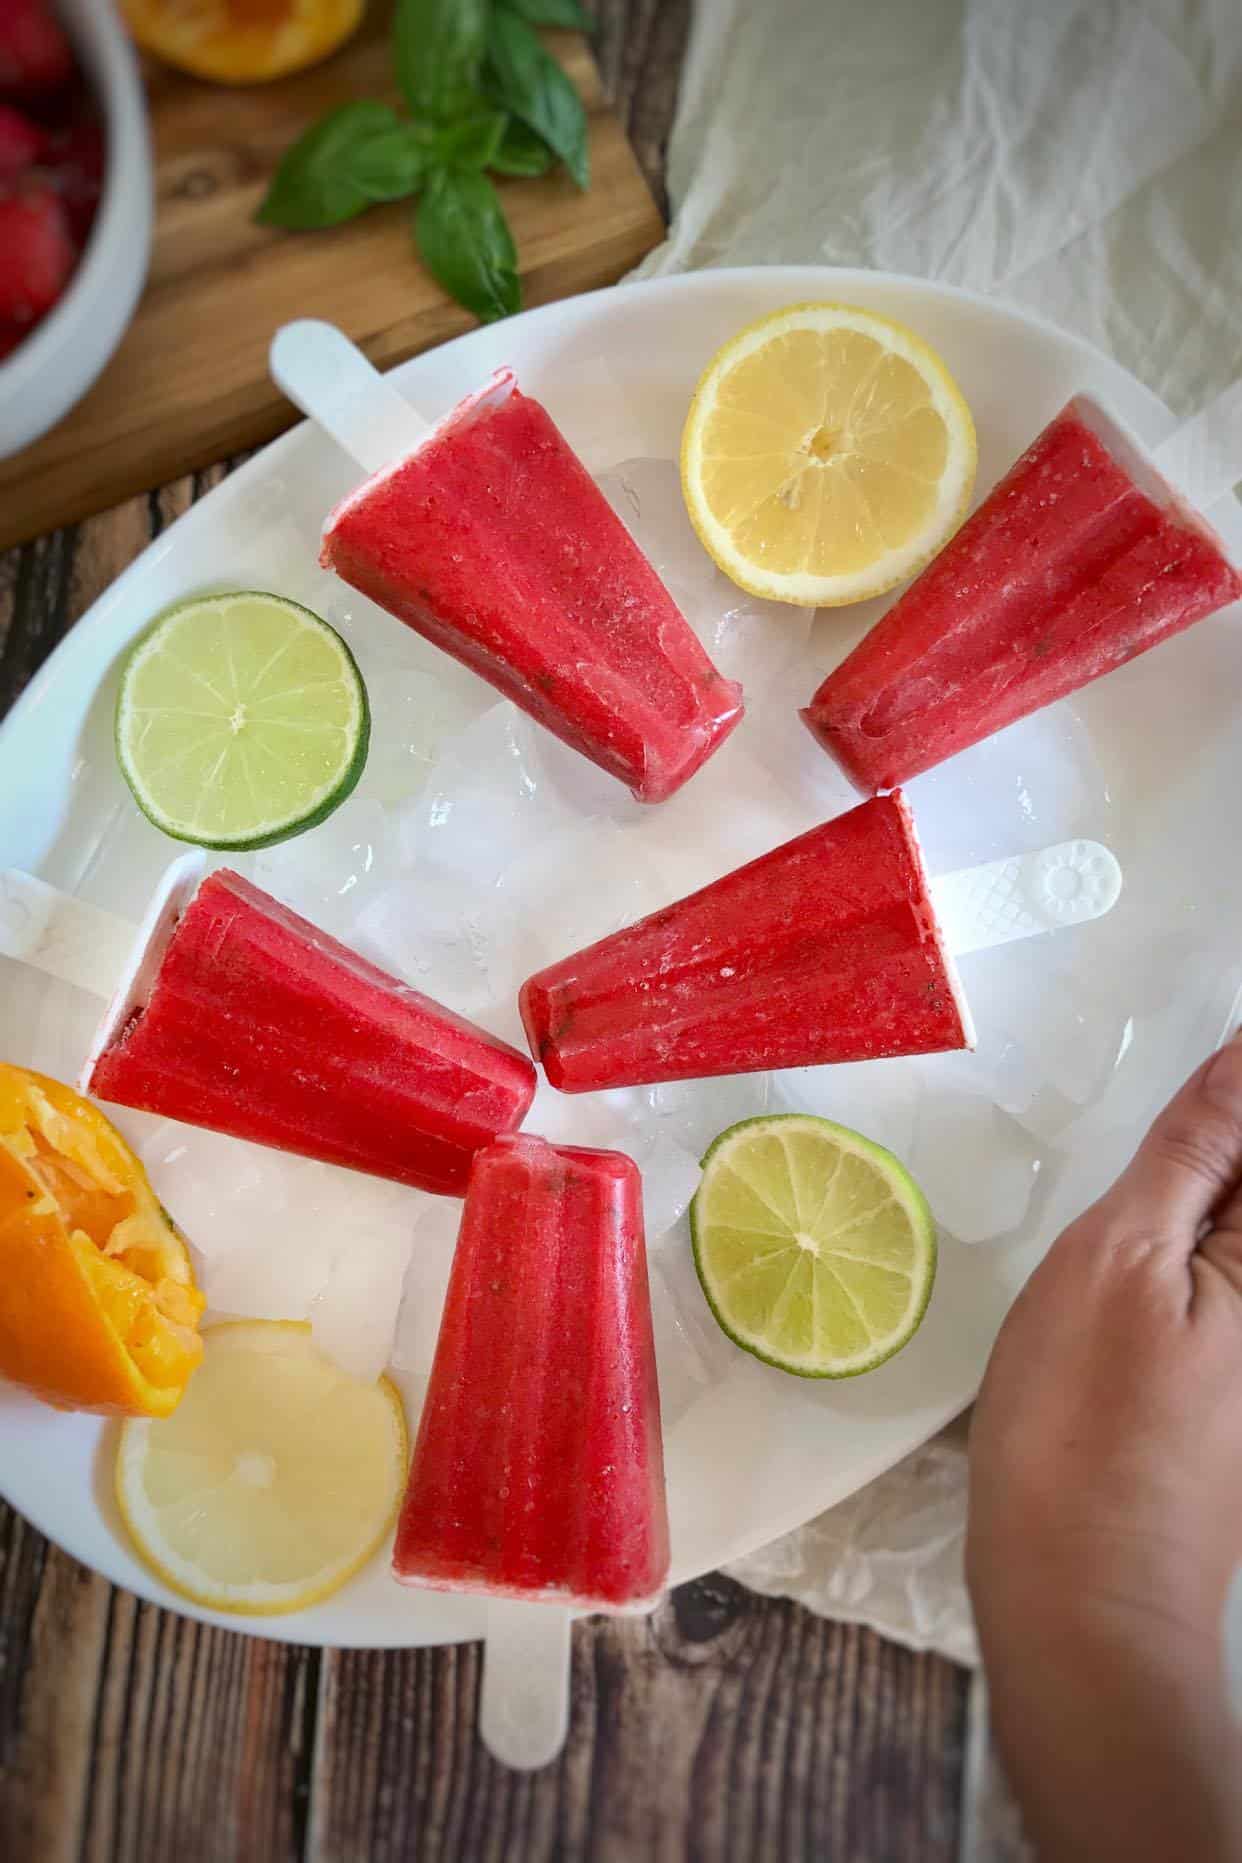
You'll Love these Strawberry Citrus Popsicles with Basil because they're:
- Refined Sugar-Free
- Sweet, Tart, & Full of Fruity Goodness
- Cool & Refreshing
- Quick & Easy to Make
- Budget-Friendly
- Adaptable to a WFPB variation
- The Perfect Healthy Summer Treat
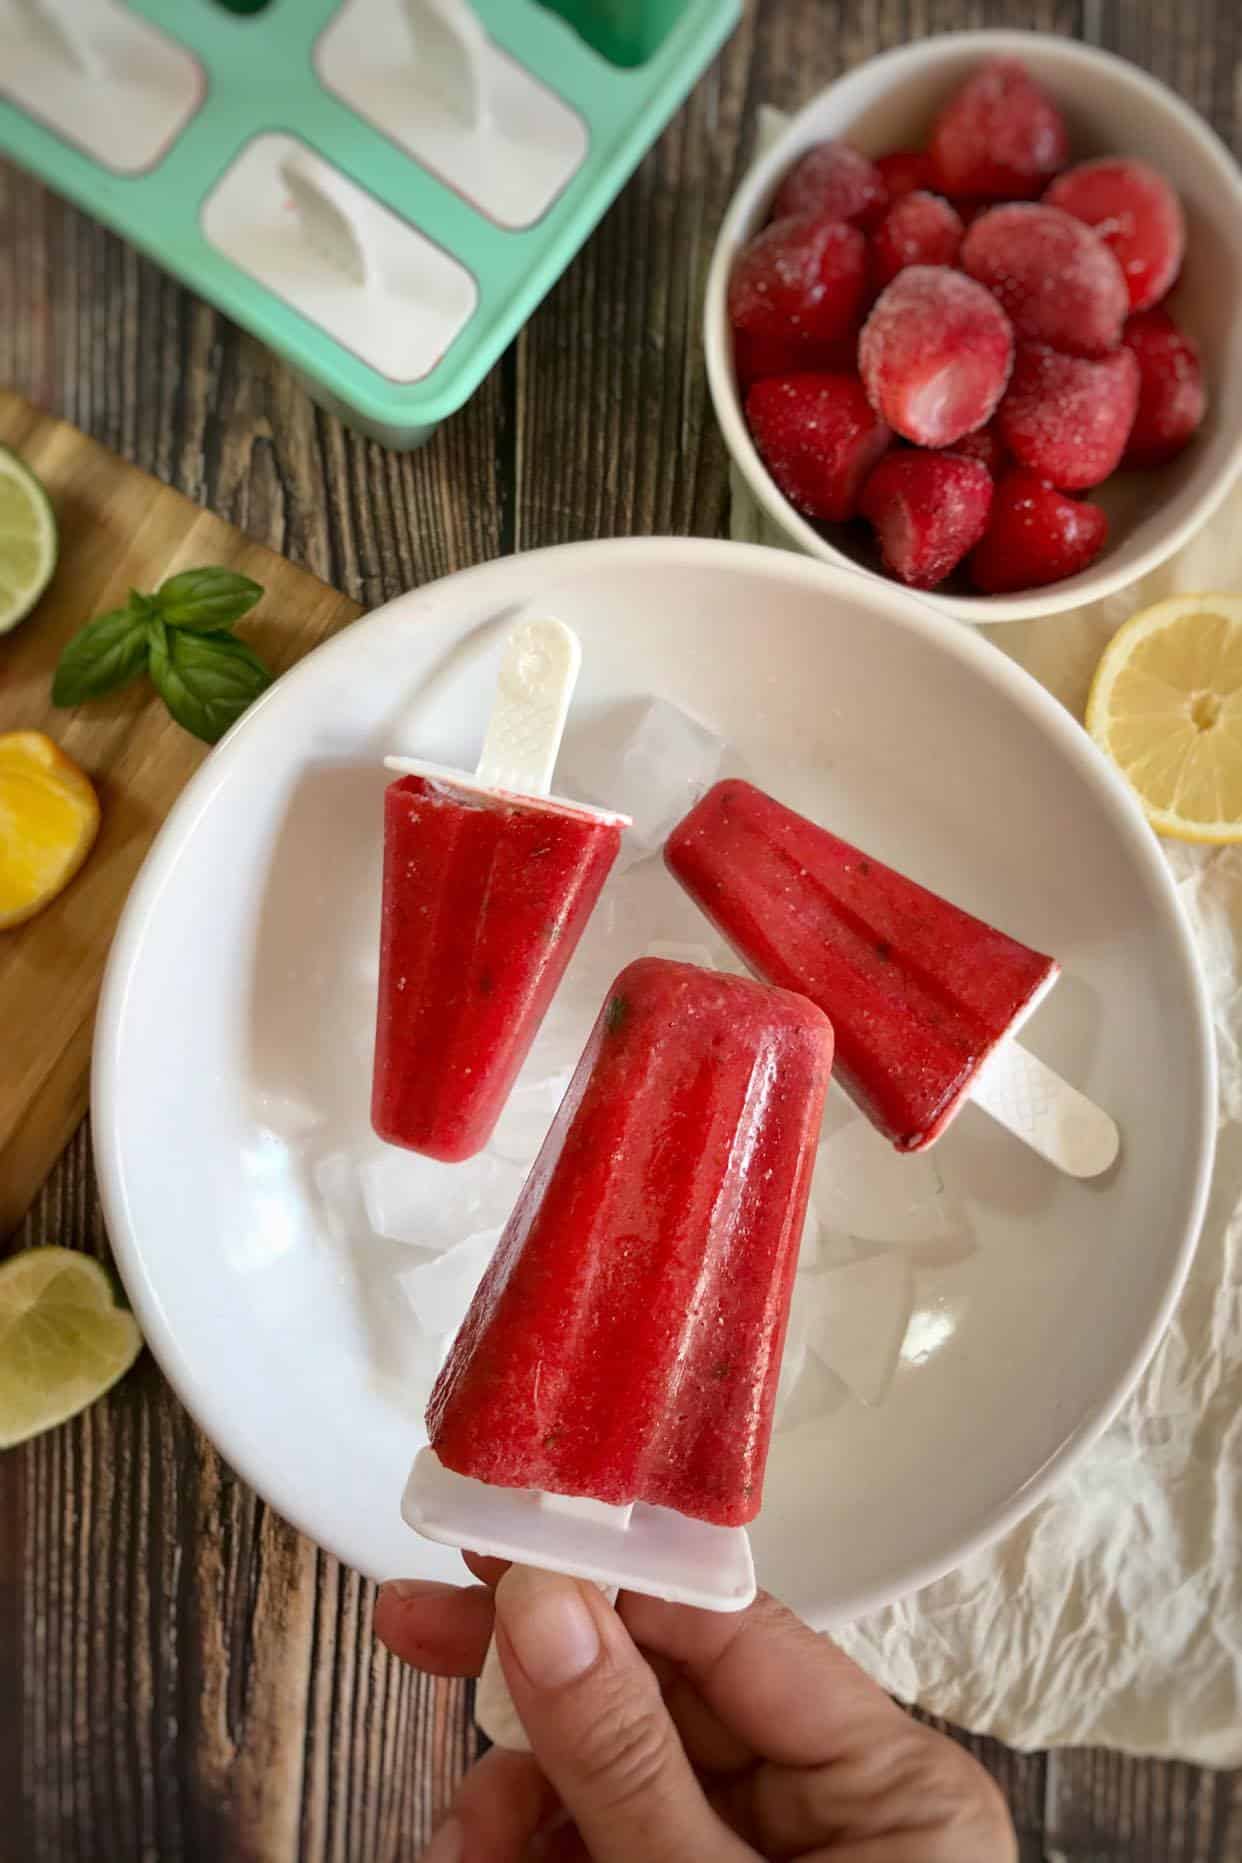
How to Make Sugar-Free Strawberry Citrus Popsicles
Unless you are in possession of more insanely ripe strawberries than you know what to do with, I recommend using frozen strawberries for this treat. Not only do they require minimal prep work, but since fruit is generally frozen at peak ripeness, you will have a much more flavorful popsicle.
For this recipe, you can either use the juice of an orange, lemon, and lime. If you want to make this a more whole-foods plant-based (WFPB) dessert you can keep the fiber intact by peeling the fruit and placing the flesh along with some zest from the peel into the pot with the strawberries.


Bring the strawberries and citrus to a boil over medium-high heat. Then use a potato masher to crush the fruit. If you chose to include the fruit flesh you will need to pick out some of the white membranes before belnding.


After your fruit has been boiled down and crushed, add the diced basil leaves, remove from the heat, and blend with a Hand Blender. (Alternatively, you can pour the mixture into a regular blender--though some blenders aren't compatible with hot liquid, in which case you'll need to wait a minute or two before blending.)


After you've blended the mixture, let cool a minute or two more (it doesn't need to be completely cold, just cool enough to handle). Then pour the mixture into the popsicle forms. Use a spoon to top off and make sure the mixture is evenly distributed. You should have about enough for 6 popsicles. If your mixture is short, just top off with extra orange juice.


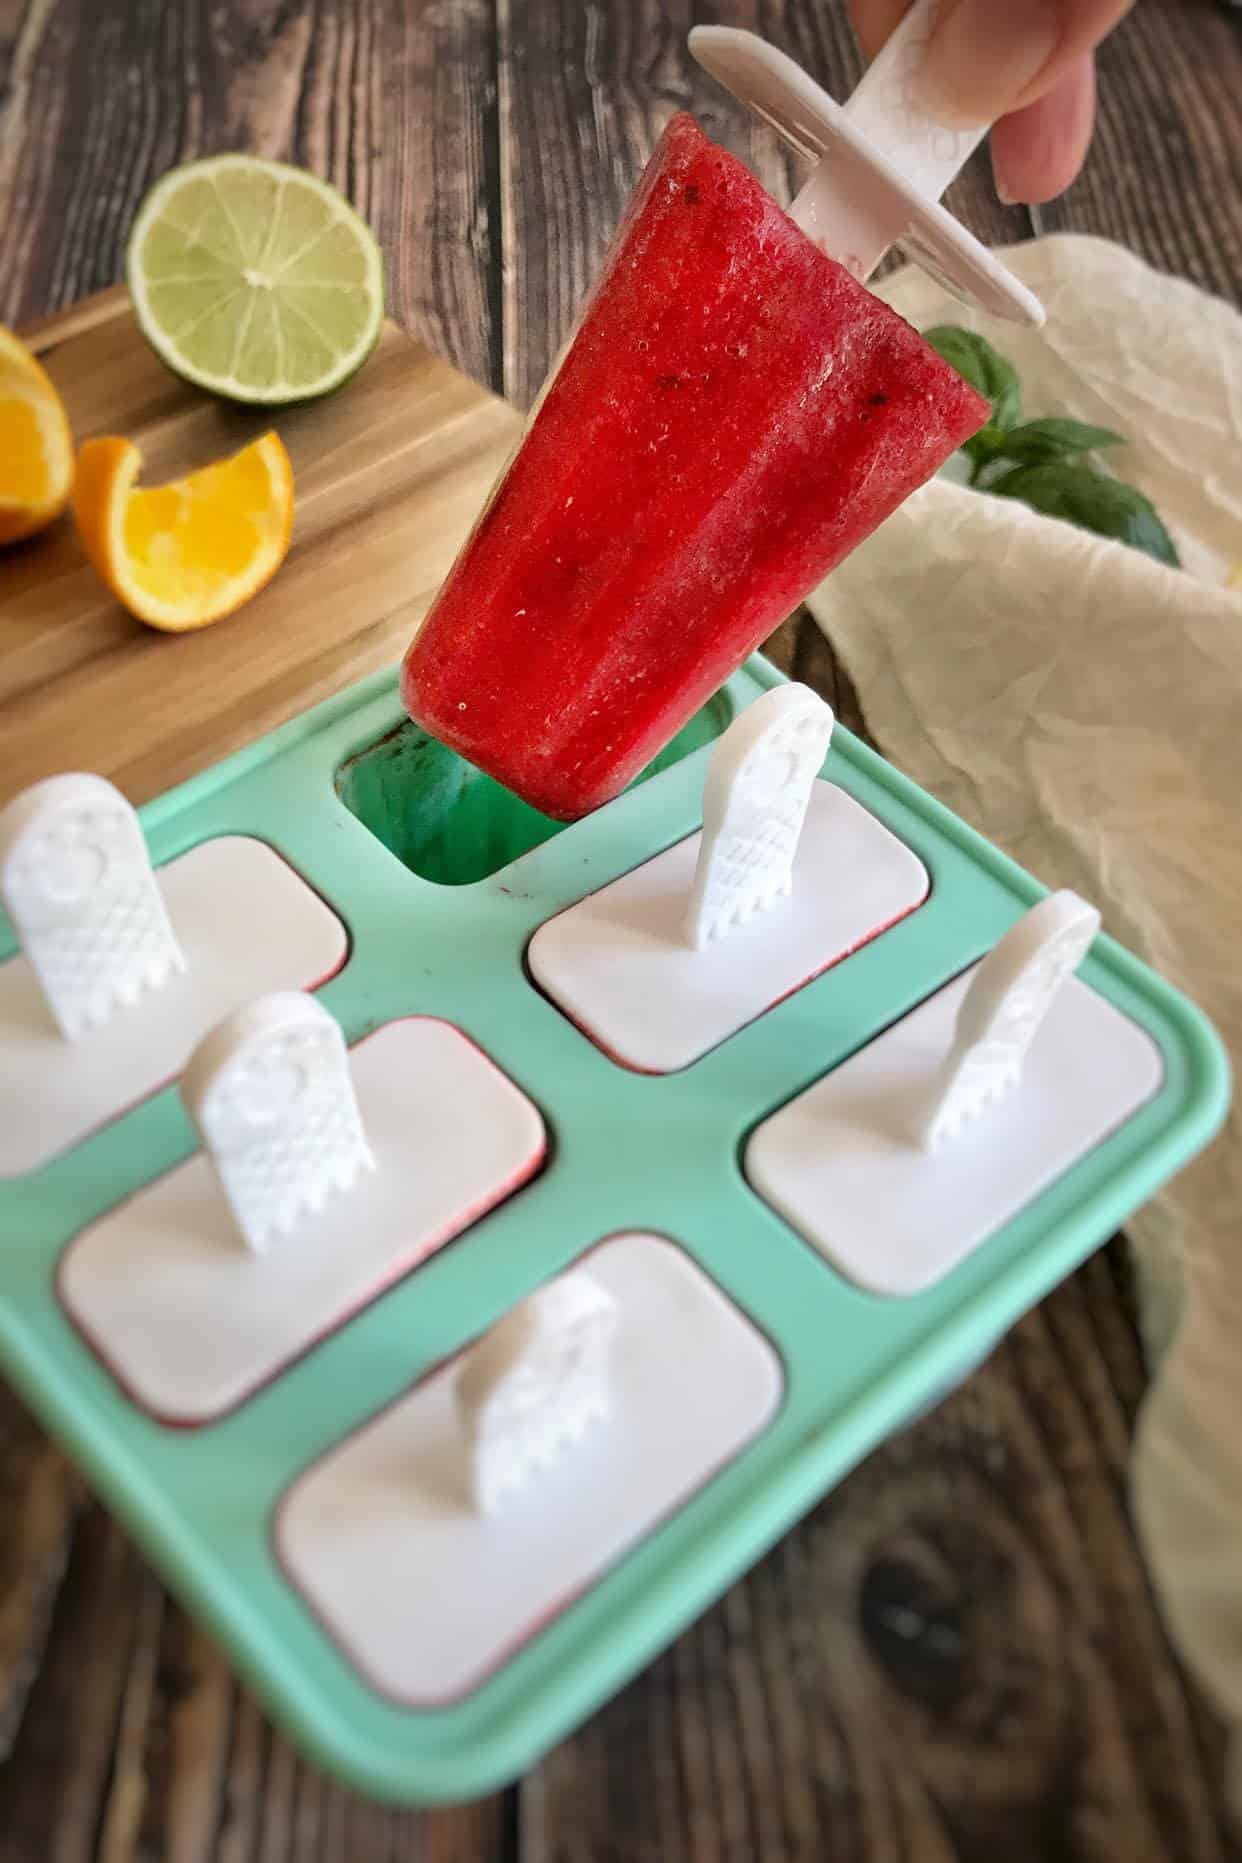
Next wipe down the forms, pop the lid on, and place in the freezer for about 6 hours (could be more or less depending on how cold your freezer is). When it's time to serve the popsicles, they can usually be removed by wiggling the silicone form, running under warm water, or letting defrost at room temperature for 2 to 3 minutes.


What Kind of Popsicle Molds or Popsicle Forms Should You Use?
I have two styles of popsicle forms, but I ultimately decided to use this Silicone Popsicle Mold for this post because I liked the shape best for the photos. I also made a batch of these popsicles using Hard Plastic Popsicle Molds seen below on the right. Each has its pros and cons, but I think both work well for this recipe.


The Silicone Popsicle Mold on the right is more compact in the freezer since and it's all one piece (plus you don't have to worry about losing the tray). It's also slightly easier to remove the popsicles from the silicone mold. However, since the mold is all one piece, you have to freeze all of the popsicles at once. Also, the silicone mold isn't quite as sturdy as the plastic, and I had a little spillage when I put the mold into the freezer.
The Hard Plastic Popsicle Mold on the right is sturdier. To remove the popsicles you need to run the mold under warm water, which is easy enough. I like that you don't have to freeze all the popsicles at once (this comes in handy when you have a little leftover smoothie and just want to freeze one or two smoothie pops, but it's less important for this recipe).
As for the cons of the hard plastic mold: I once lost the tray, which made it difficult to keep the pops upright (thankfully I found it again). Also, the tray takes up more space in my tiny freezer, and I once broke one of the plastic lids just by dropping it on the kitchen floor. I also don't like that there are so many pieces. More things to wash; more things to lose. Still, all in all, it's a very competent product. And I can happily recommend both the plastic and silicone molds featured above.
How to Make Popsicles without Popsicle Molds
Because this mixture is a very loose liquid, I don't recommend using the silicon push-up style since it has to lay flat in the freezer, and you would have a mess! In a pinch, you could get away with using them if you have a way to keep them upright in the freezer.
If you don't own a popsicle mold, there are other creative ways to make popsicles, such as using ice cube trays or small cups with wooden popsicle sticks (which you can buy in bulk here as Wooden Craft Sticks, or even wash and reuse from store-bought popsicles). Since this mixture is very fluid, you would just need to wait until the mixture is starting to freeze before inserting the popsicle sticks (otherwise they won't stay upright).
More recipes you'll love
- Mango Lassi Popsicles
- Southwestern Salad with Chili-Lime Tofu Nuggets
- No-Bake Carrot Cake Bites
- Cilantro-Lime Avocado Dressing (Oil-Free!)
- Chick-fil-A Style Tofu Nuggets with "Honey" Mustard Dipping Sauce
- Vegan Palak Paneer with Tofu (Oil-Free!)
📖 Recipe
Sugar-Free Strawberry Citrus Popsicles with Basil
Equipment
Ingredients
- 3 cups frozen strawberries
- ½ cup orange juice (or 2 medium oranges, peeled)
- 2 tablespoon lemon juice (or ¼ medium lemon, peeled)
- 2 tablespoon lime juice (or ¼ medium lime, peeled)
- 2 tablespoon fresh diced basil leaves
Optional
- zest of 1 orange, lemon, and lime
Instructions
- Place all of the ingredients in a medium pot over medium-high heat. After a few minutes, the strawberries will defrost and you can crush them with a potato masher.
- (If you are following the whole-food variation of this recipe, you should remove the citrus membranes before blending.)
- Using a hand blender, blend the ingredients until smooth.
- Allow the mixture to cool for two to five minutes. Then pour into the popsicle molds.
- Put the lids on the popsicle molds and place in the freezer. Freeze for at least 6 hours before enjoying.
- To remove the popsicles from the mold you can defrost for a few minutes on the counter or run the molds under warm water. You might need to twist and wiggle the molds a little before the popsicles break free.
- The popsicles will last several weeks in the freezer.
Notes
- This recipe tastes great using either freeze or pre-squeezed juice. I've tried it both ways and I preferred the fresh juice slightly more, but both are delicious.
- To make this recipe whole-food plant-based, you can use peeled citrus fruits. Just place the fruit flesh directly in the pot with the strawberries (this will keep all of the fiber intact). Remove the membranes before blending. The flavor is slightly less sweet--but I probably only noticed because I was trying them side-by-side with the batches made from juice. If you find them to be too bitter, try adding two pitted dried dates to the mixture before bringing to a boil.
- If you are making the WFPB version of this recipe, try to avoid as much of the whites of the orange as possible, as these tend to be more bitter.
- If you find the WFPB version still too bitter, try adding 1 or 2 dates to the mixture in step one.
- I recommend using frozen strawberries over fresh because they are (generally) frozen at the peak of ripeness and the flavor intensifies in the freezing process. Plus, frozen strawberries are available year-round. That said, if you are the lucky owner of more ripe summer strawberries than you know what to do with, have at it.
Want access to my Exclusive Meal Planning Tips & Printables page?

Did you try this recipe? Have a question? Just leave a comment below and I'll get back to you ASAP!






Leave a Reply