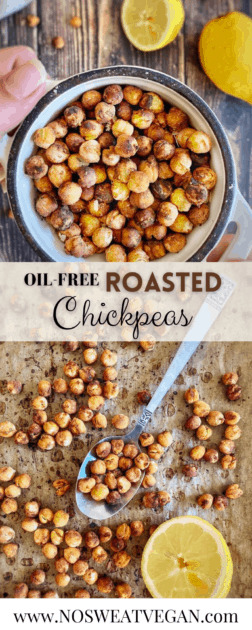
Crispy & crunchy roasted chickpeas make the perfect plant-based snack! Choose your favorite flavor combination: Vegan Parmesan & Garlic, Maple Cinnamon, Tandoori Lime, or Sweet & Spicy Chili. This recipe is simple, easy, and sure to satisfy your snack cravings.
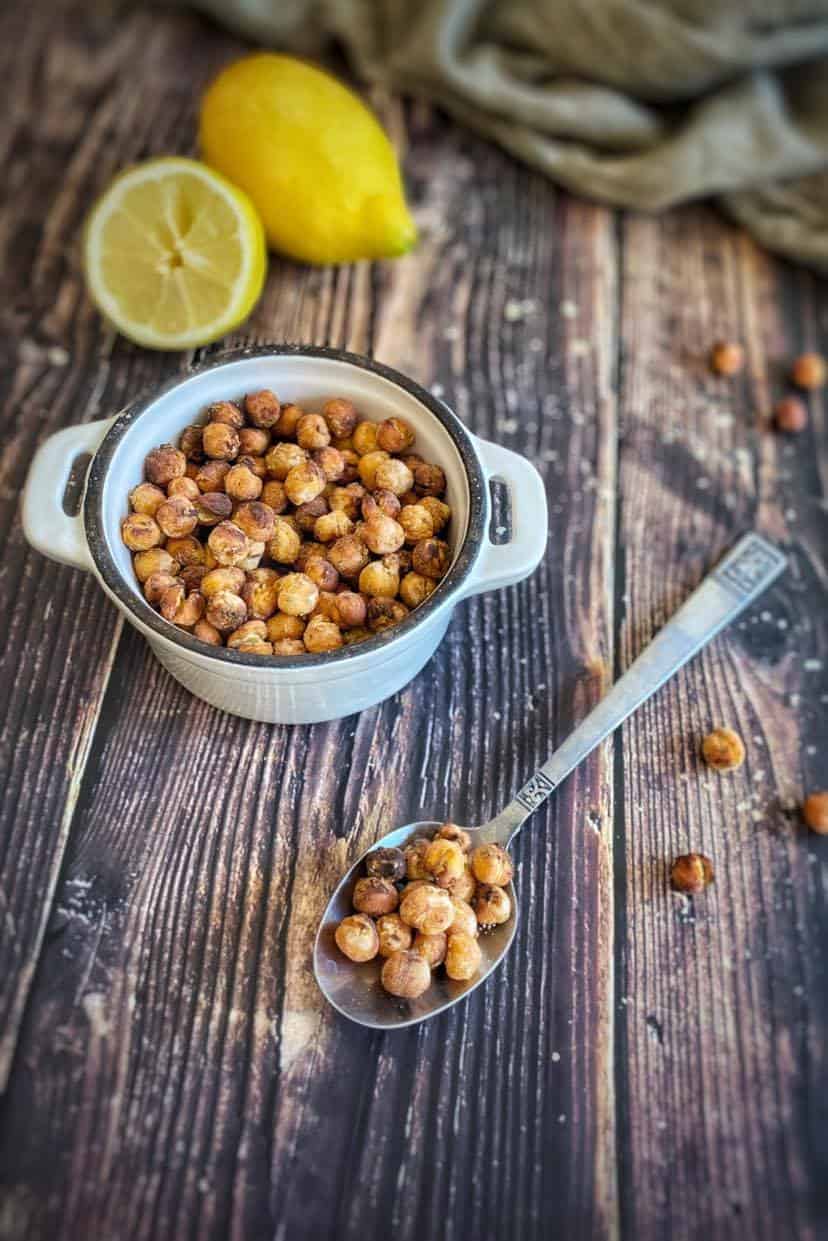
If you're anything like me, you've been craving more snacks lately. And I don't mean fruit. I love fruit! But sometimes I just want a snack that's crispy, crunchy, and--dare I say it--snackable! Unfortunately, most store-bought snacks are full of hydrogenated oils (aka trans fat) and other questionable ingredients. Good thing you can make your own Crispy Roasted Chickpeas (No Oil!) at home with just a few simple ingredients and minimal prep work.
These Oil-free Roasted Chickpeas are perfect for munching on in the afternoon when you get those 3pm stomach rumbles or in the evening when you're unwinding on the sofa. But they also make a great topper for salads, buddha bowls, or wherever you want to add a little crunch to your life. Plant-based snacks have never been so good--or so easy!
Jump to:
What are the health benefits of chickpeas?
Chickpeas (aka Garbanzo Beans) make a great plant-based snack because they're full of nutrients, high in protein and fiber, and low in fat. Some studies have even linked chickpea consumption to blood sugar control and weight management. But you don't need to read a medical journal to know that Oil-Free Roasted Chickpeas are a healthier snack choice than potato chips. So if you crave a crunchy, savory snack, try swapping chickpeas for your usual bag of crisps.
Best Flavor Pairings for Crispy Roasted Chickpeas:
- Vegan Parmesan & Garlic
- Maple & Cinnamon
- Tandoori Lime
- Sweet & Spicy Chili
- Create Your Own Combo!
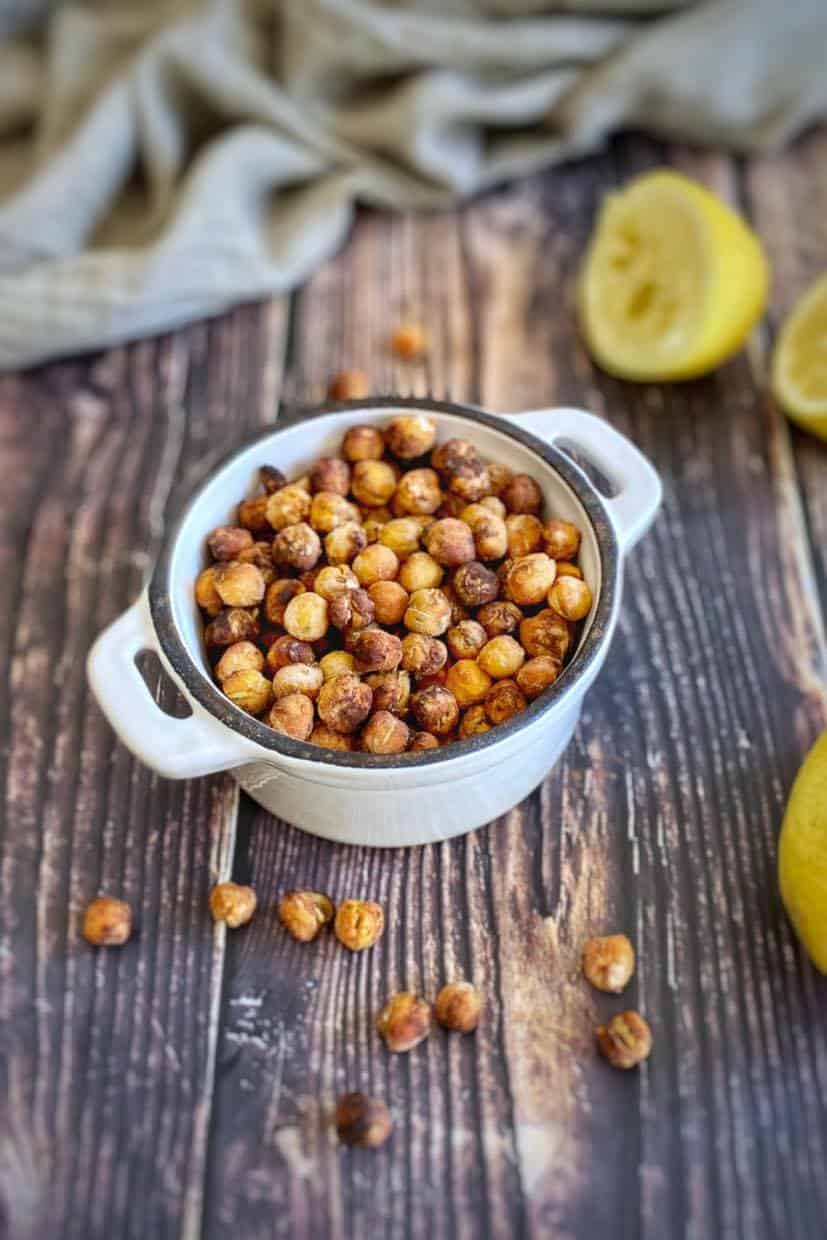
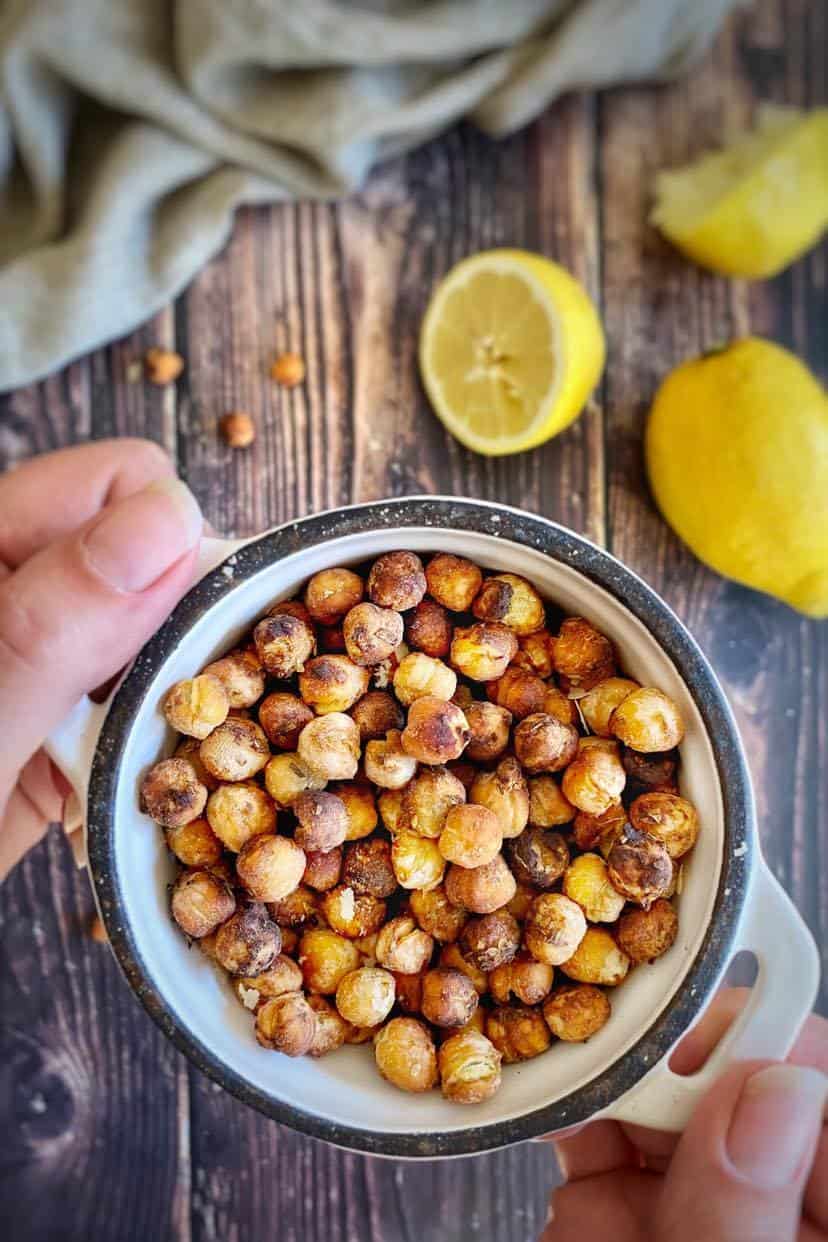
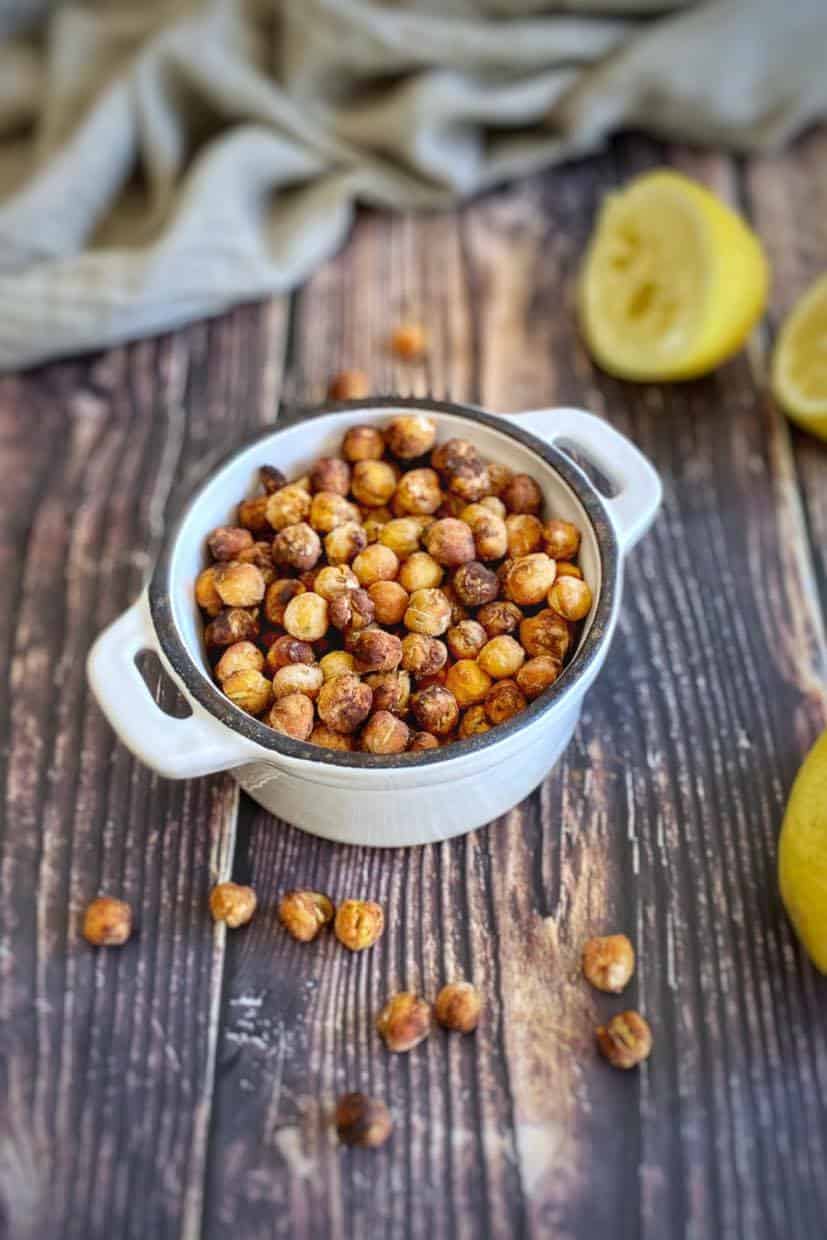
For the photos, I used the Vegan Parmesan & Garlic Roasted Chickpeas, mainly because they were ready when I was getting the best light. But I've tried all of these varieties and I honestly can't choose a favorite. They are all delicious!
How to Make Crispy Roasted Chickpeas without Oil
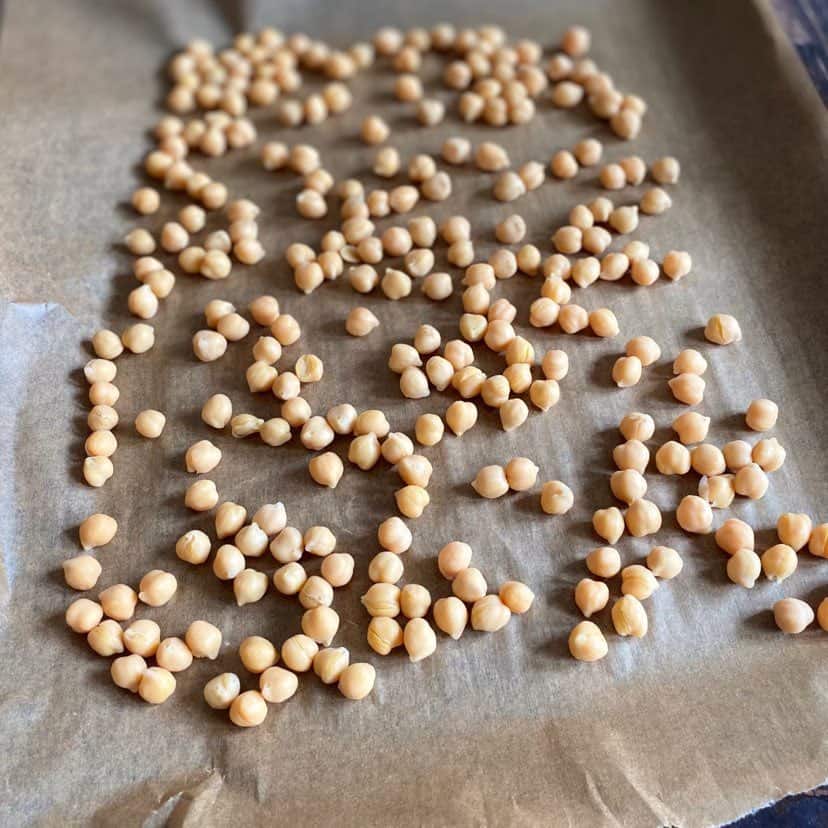
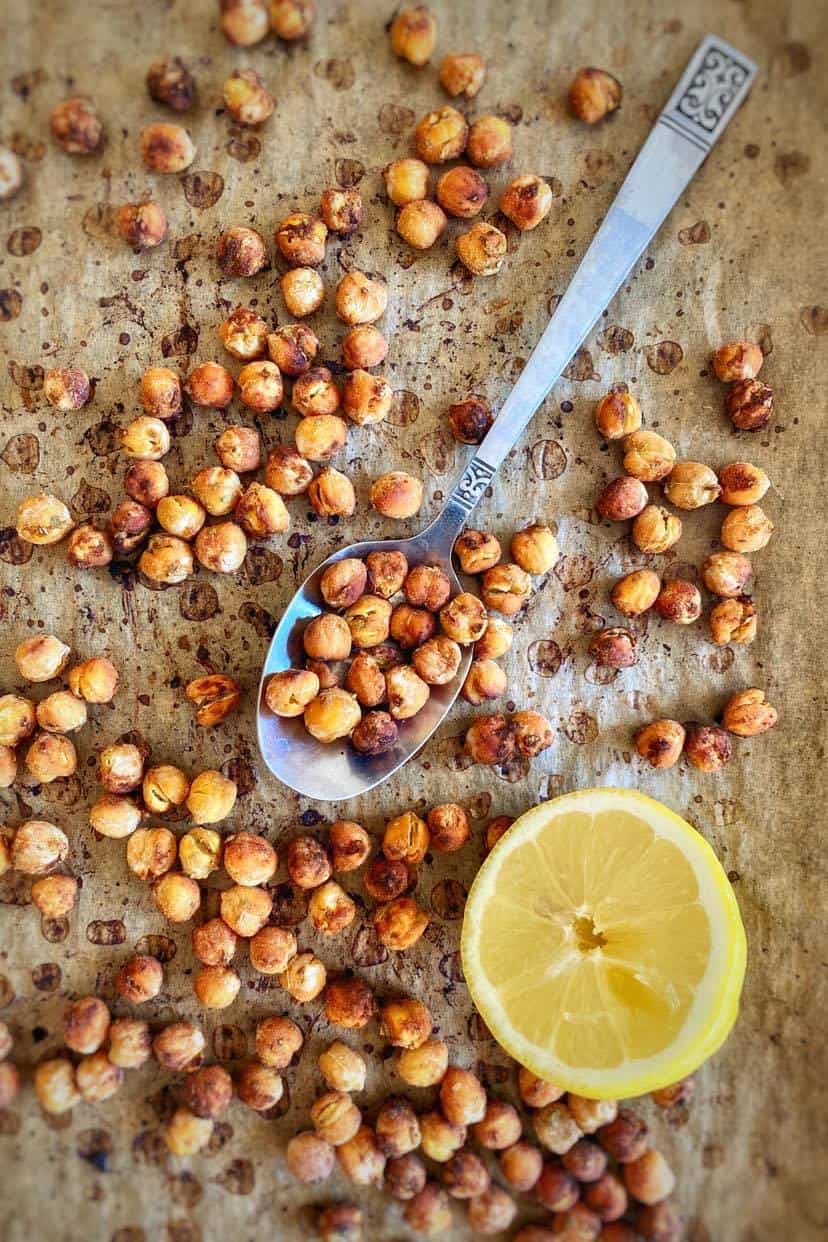
To start, drain and rinse a can of chickpeas. Transfer the chickpeas to a clean, dry kitchen towel and pat dry to remove excess liquid. Then spread the chickpeas (with no toppings yet) onto a lined baking sheet and roast on 400°F or 200°C for 20 minutes.


After 20 minutes, remove the chickpeas from the oven and place in a large mixing bowl. Now add in the toppings, stir to combine, spread on the baking sheet again, and return to the oven. Roast for another 10 minutes. Take the chickpeas out of the oven and use a spatula to move them around the baking sheet. (This will help them bake more evenly.) Return the chickpeas to the oven and bake for another 10 minutes, or until the chickpeas are crunchy all the way through.
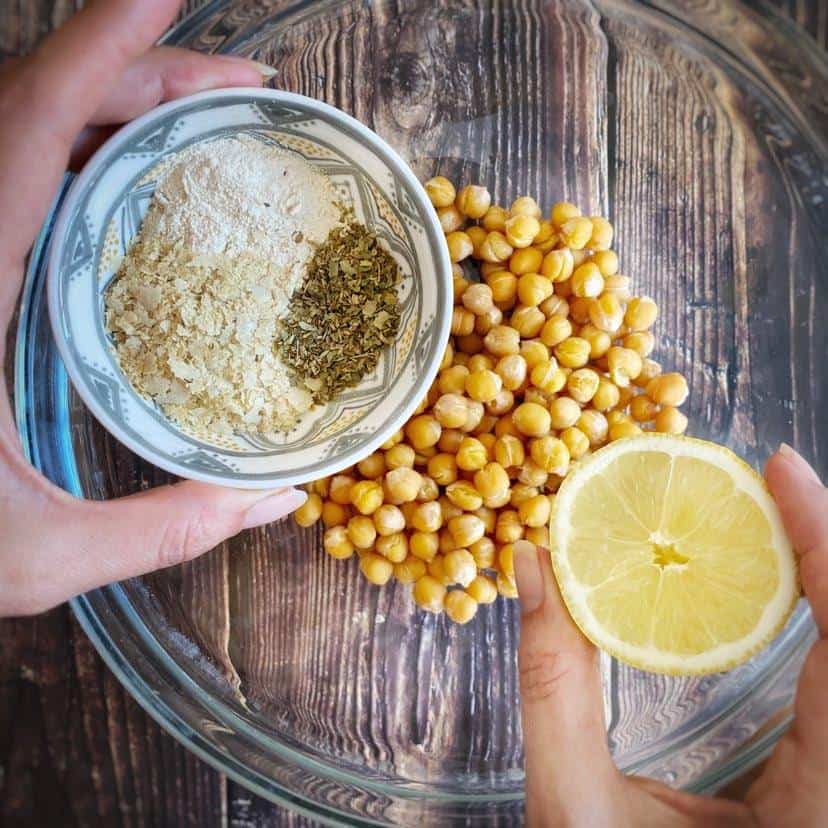
Why not add the spices to the chickpeas right away?
Spices can burn easily, so roasting the chickpeas for 20 minutes without spices will help to keep them from burning. But because the chickpeas will be quite dry when you add the spices, you also want to add a bit of liquid. This recipe doesn't use oil, so for each flavor pairing, there is a liquid component. (Keep this in mind if you come up with your own flavor combination)
Do I need to peel the chickpeas before roasting?
Some of the skins will come off when you're drying the chickpeas with the kitchen towel. That said, I didn't bother peeling the skins off in any of my batches, and they all came out great.
How to serve
- Serve these chickpeas as a movie snack alongside these Air Fryer Pasta Chips!
- Add them to a vegan charcuterie board.
- Give your favorite salad a little extra crunch!
- Serve the Tandoori Lime Variation as a crunchy side or appetizer for Vegan Butter Chicken, Butternut Squash Curry, or Red Lentil Dahl.
More vegan recipes
- Buffalo Chickpea Dip
- Vegan Stuffed Mushrooms
- Baked Vegan Taquitos
- Southwestern Salad with Chili-Lime Tofu Nuggets
- Sticky Orange Tofu (Oil-Free)
- Cilantro-Lime Avocado Dressing (Oil-Free!)
- Vegan Palak Paneer with Tofu (Oil-Free!)
📖 Recipe
Crispy Roasted Chickpeas 4 Ways (No Oil)
Equipment
Ingredients
- 15 oz (or 425g) can of chickpeas (also called garbanzo beans)
Garlic & (Vegan) Parmesan
- 2 tablespoon lemon juice
- 1 tablespoon garlic powder
- 1 tablespoon nutritional yeast
- ½ tablespoon dried oregano
Maple & Cinnamon
- 2 tablespoon maple syrup
- 1 ½ tablespoon cinnamon
- ½ tablespoon allspice
Tandori Lime
- 2 tablespoon Tandoori spice
- 2 tablespoon lime juice
Sweet & Spicy Chili
- 1 tablespoon agave syrup
- 1 tablespoon lime juice
- 2 tablespoon chili powder
Instructions
- Choose your favorite flavor combination above. Follow the steps below, using the correct spices and liquids for your flavor combo.
- Preheat the oven to 400°F or 200C°.
- In a fine-mesh strainer, drain and rinse a 15 oz can of chickpeas. Place the chickpeas on a clean, dry kitchen towel to pat off the excess moisture.
- Spread the chickpeas on a lined baking sheet. Place the baking sheet in the oven and roast for 20 minutes.
- Remove the baking sheet from the oven. Pour the chickpeas into a mixing bowl. Add the spices and liquids for your chosen flavor combination.
- Return the chickpeas to the oven. Roast for an additional 20 minutes, taking them out at 10 minutes to turn and move the chickpeas around on the pan (this will keep them from sticking and promote more even baking).
- Test the chickpeas after another 10 minutes. If they still soft on the inside, return to the oven for another 5 minutes.
- If the chickpeas are starting to burn, but they still aren't totally crispy, turn off the oven, open the oven a few inches at the top, and let the chickpeas rest for 10 to 15 minutes. They will continue to dry out in the hot oven.
- When the chickpeas are crunchy on both the outside and inside they are done. Enjoy right away or store at room temperature, (covered but not airtight) for up to 5 days.
Notes
- You can easily double or triple the batch, but be aware that cooking time will increase slightly (more chickpeas in the oven will create more steam, resulting in longer cooking time).
- Feel free to experiment with your own flavor combinations!
- When storing the chickpeas, the container should NOT be an airtight container. The batch I stored in an airtight container didn't stay crunchy--they actually got a little soggy. The batch I stored in a container with a loose lid stayed nice and crunchy!
- These can go from crunchy to burnt pretty quickly, so stay nearby for the last 10 or so minutes and be sure to check on them.
- Keep in mind that things like local altitude and humidity will affect the amount of moisture in the food, so the first time you make this you might need to adjust the times slightly based on your location.
Want access to my Exclusive Meal Planning Tips & Printables page?
Did you try this recipe? Have a question? Just leave a comment below and I'll get back to you ASAP!




Lucia
Look so good I am gonna try
Julianne Lynch
Great! I hope you love it!
Andrea
Thank you so much for this! Since lockdown, most of my meals have consisted of beans and rice (I'm high risk for Covid so don't want to go out much). Chick peas are my favourite but I am so bored with them! This has given my ideas on how to mix things up a bit.
Julianne Lynch
I'm sorry to hear you're high risk. I definitely hope this recipe helps! Have you tried Curry Chickpea Salad? That's another one of my favorites. (See the recipe under "Lunch" recipes).
Sally
Why do baking instructions differ from the top to the bottom of this page?
Julianne Lynch
Sorry about that. It must have just been a typo. It's fixed now. Thanks for asking!
Kathy
Can you use an air fryer to make these? If so, what should the settings be? I'm new to air frying...Thanks!
Julianne Lynch
Yes! You can use an air fryer. It will take roughly 15 to 20 minutes on 400F/200C.